Creating an Event
Create an event in Vega: fill in details, spaces, ticketing, volunteers, and publish—includes required admin permissions and a step-by-step checklist.
Watch this walkthrough
All videos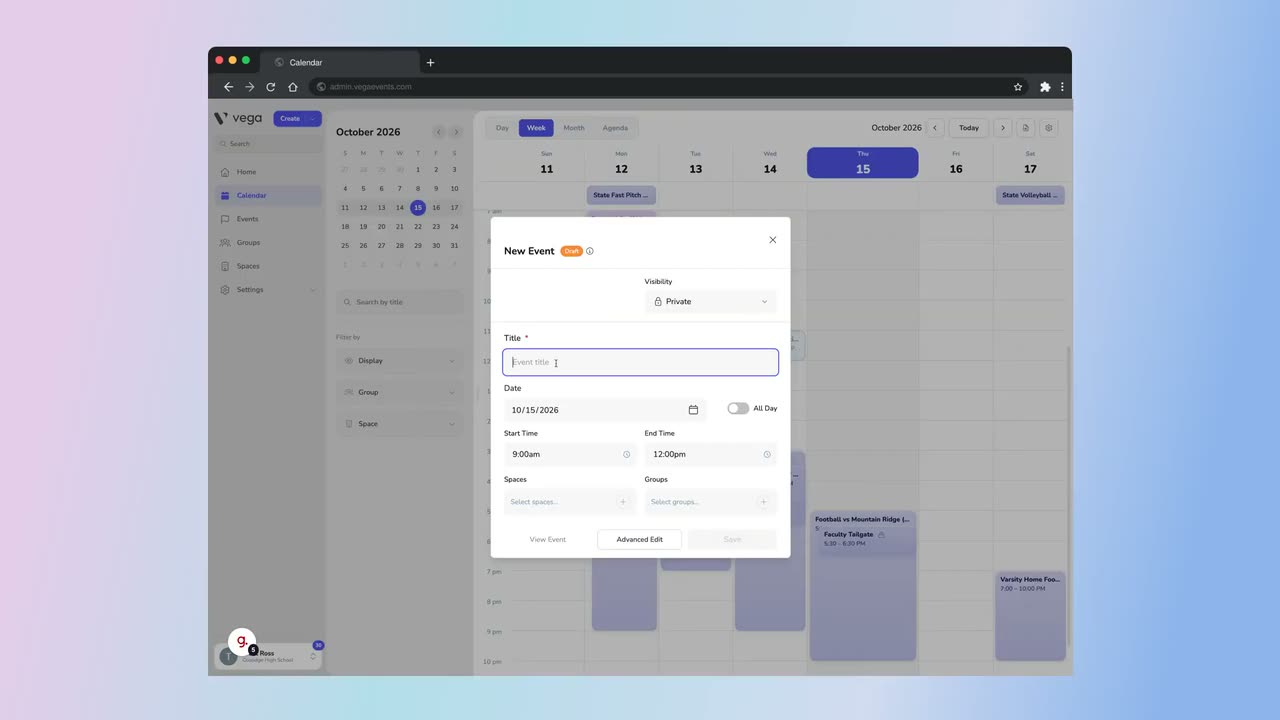
Events are the core of Vega. This guide walks you through creating an event from start to finish.
Prerequisites
- You must be signed in to the Vega admin dashboard
- You need the Manage Events or Request Events permission (ask your organization admin if you’re unsure)
Step-by-Step
1. Click Create Event
Click the + Create button in the top navigation bar — it’s accessible from anywhere in the platform. This opens the event creation form.
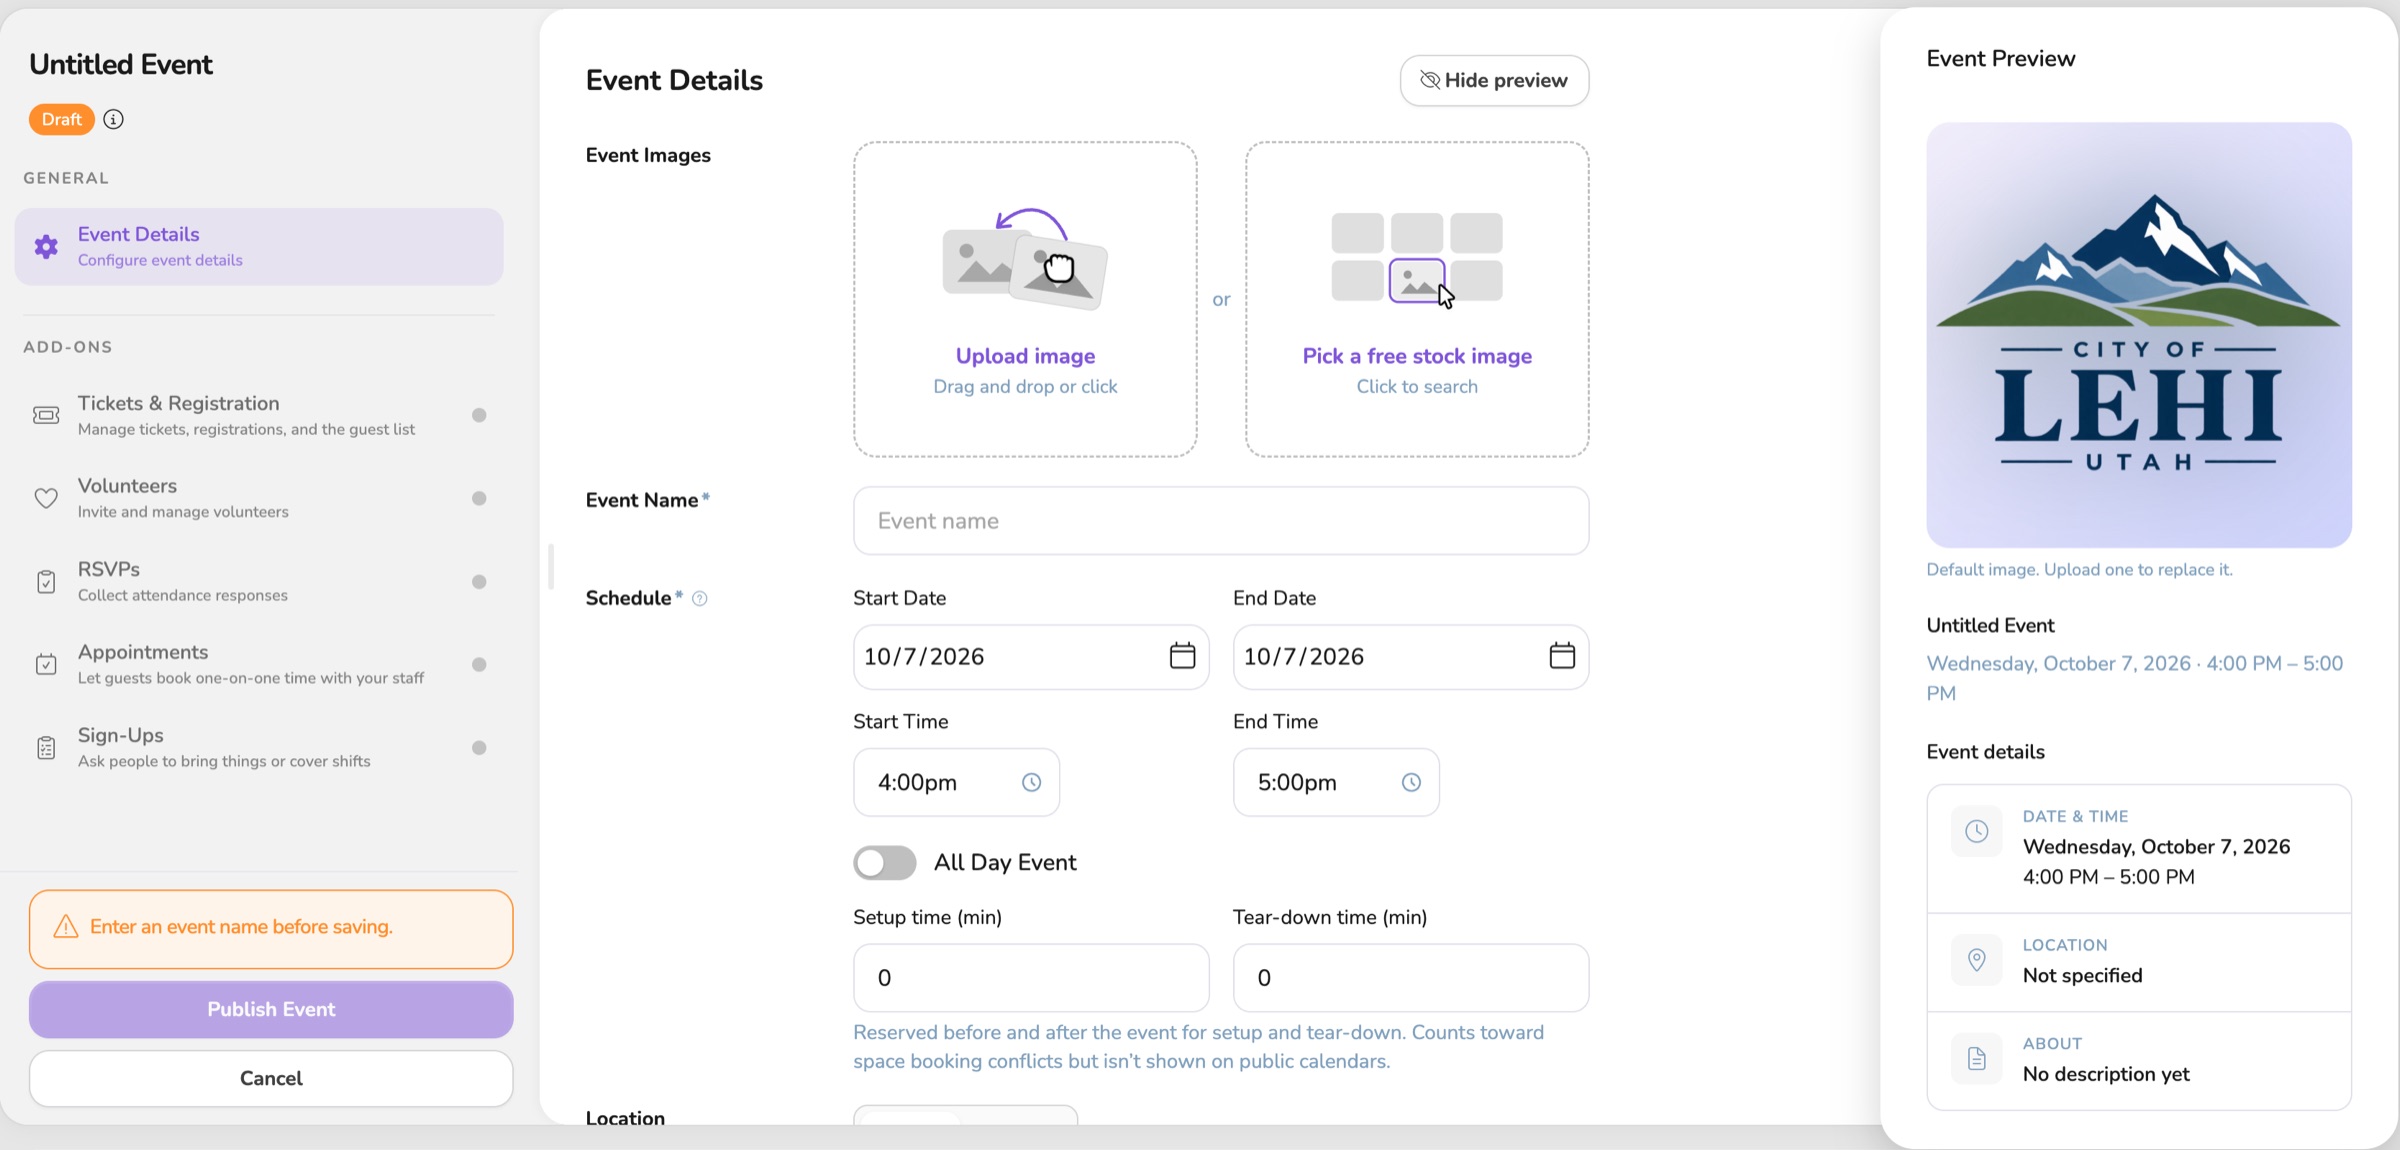
2. Fill In Event Details
- Event Name — A clear, descriptive name for your event
- Date & Time — Set the start and end date/time
- Location — Select an existing space or enter a custom location
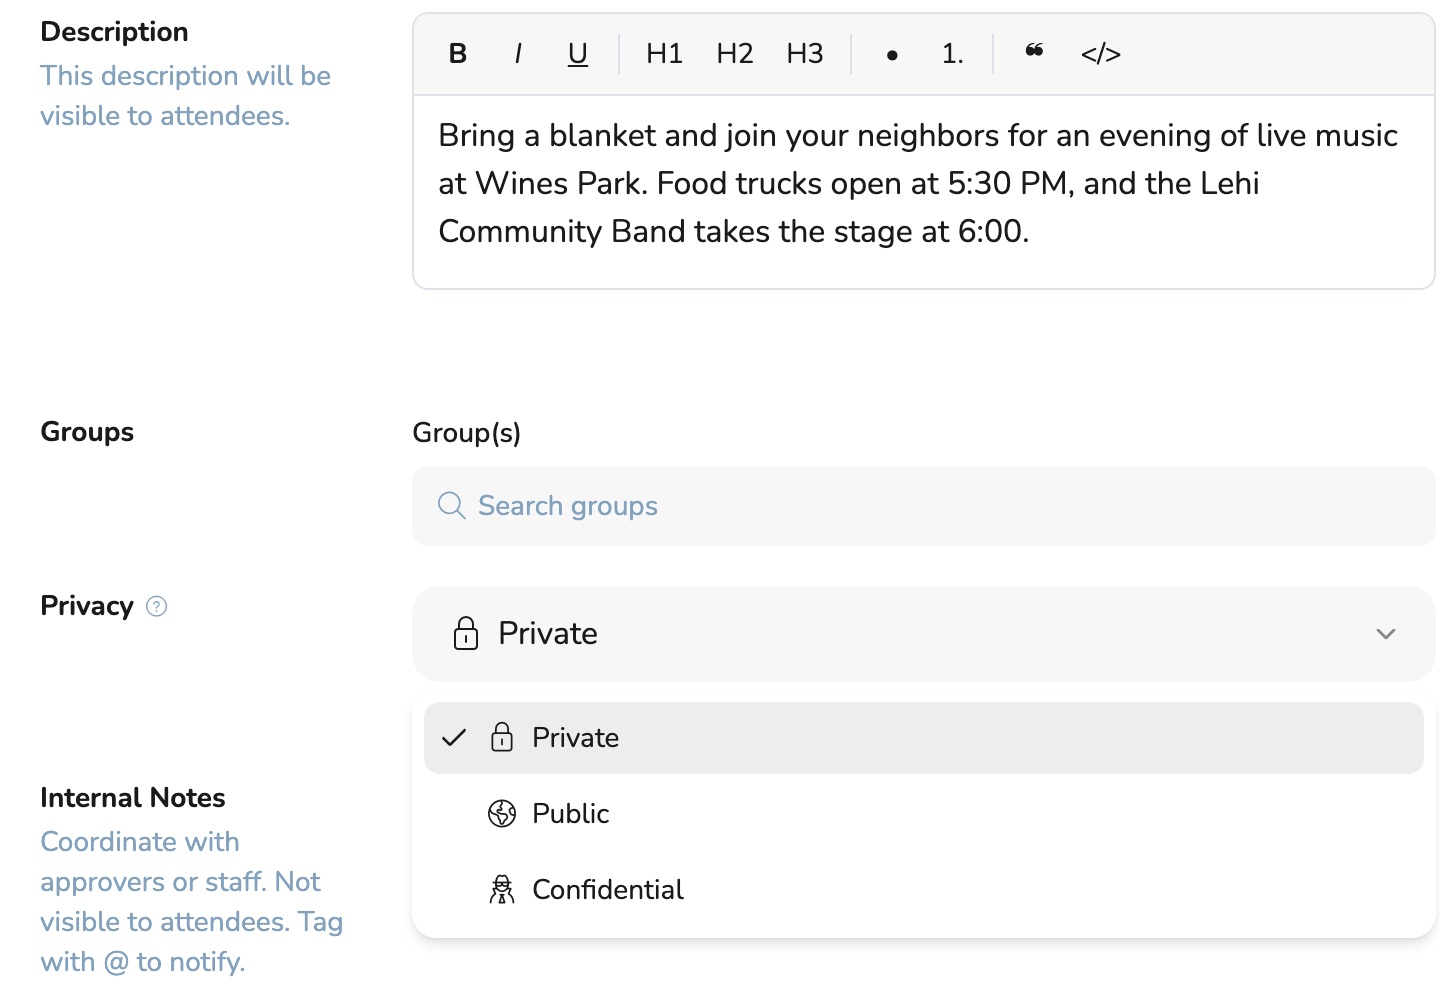
- Visibility — Choose who can see the event:
- Public events publish to the community page or externally linked calendar.
- Private events stay within the organization.
- Confidential is for sensitive meetings. Everyone else sees the room as Reserved. Only you, owners, and members of the selected groups see the title, description, and attendees. If you don’t see this option, it hasn’t been turned on for your organization yet.
- Description — Add a rich-text description with formatting, images, and links
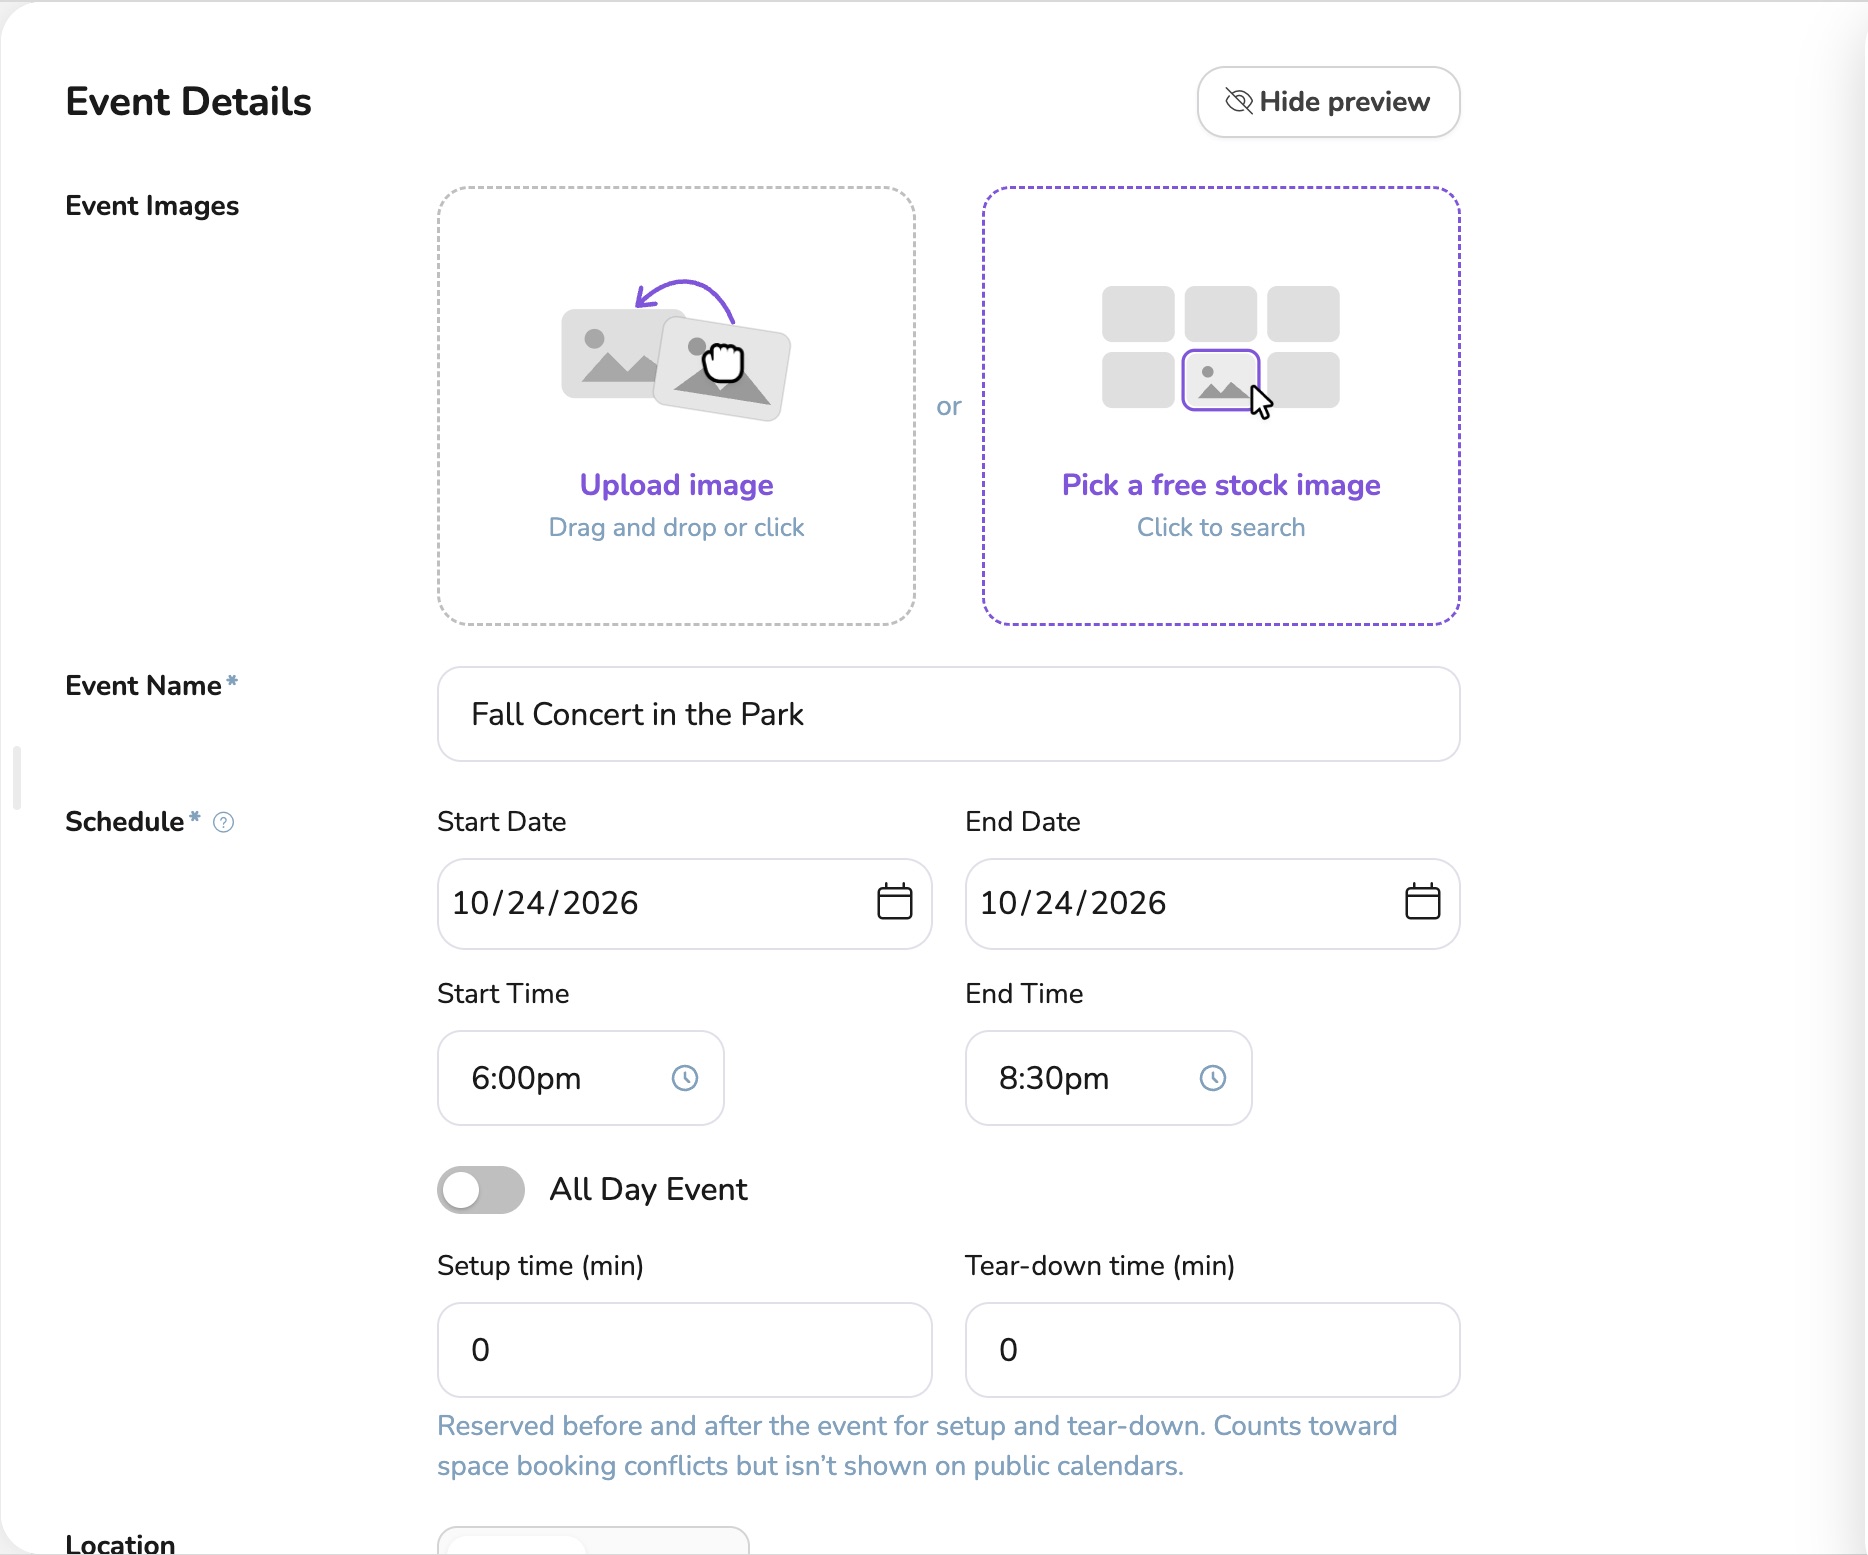
Scroll down to see additional options for spaces, groups, description, and collaborators.
💡 Tip
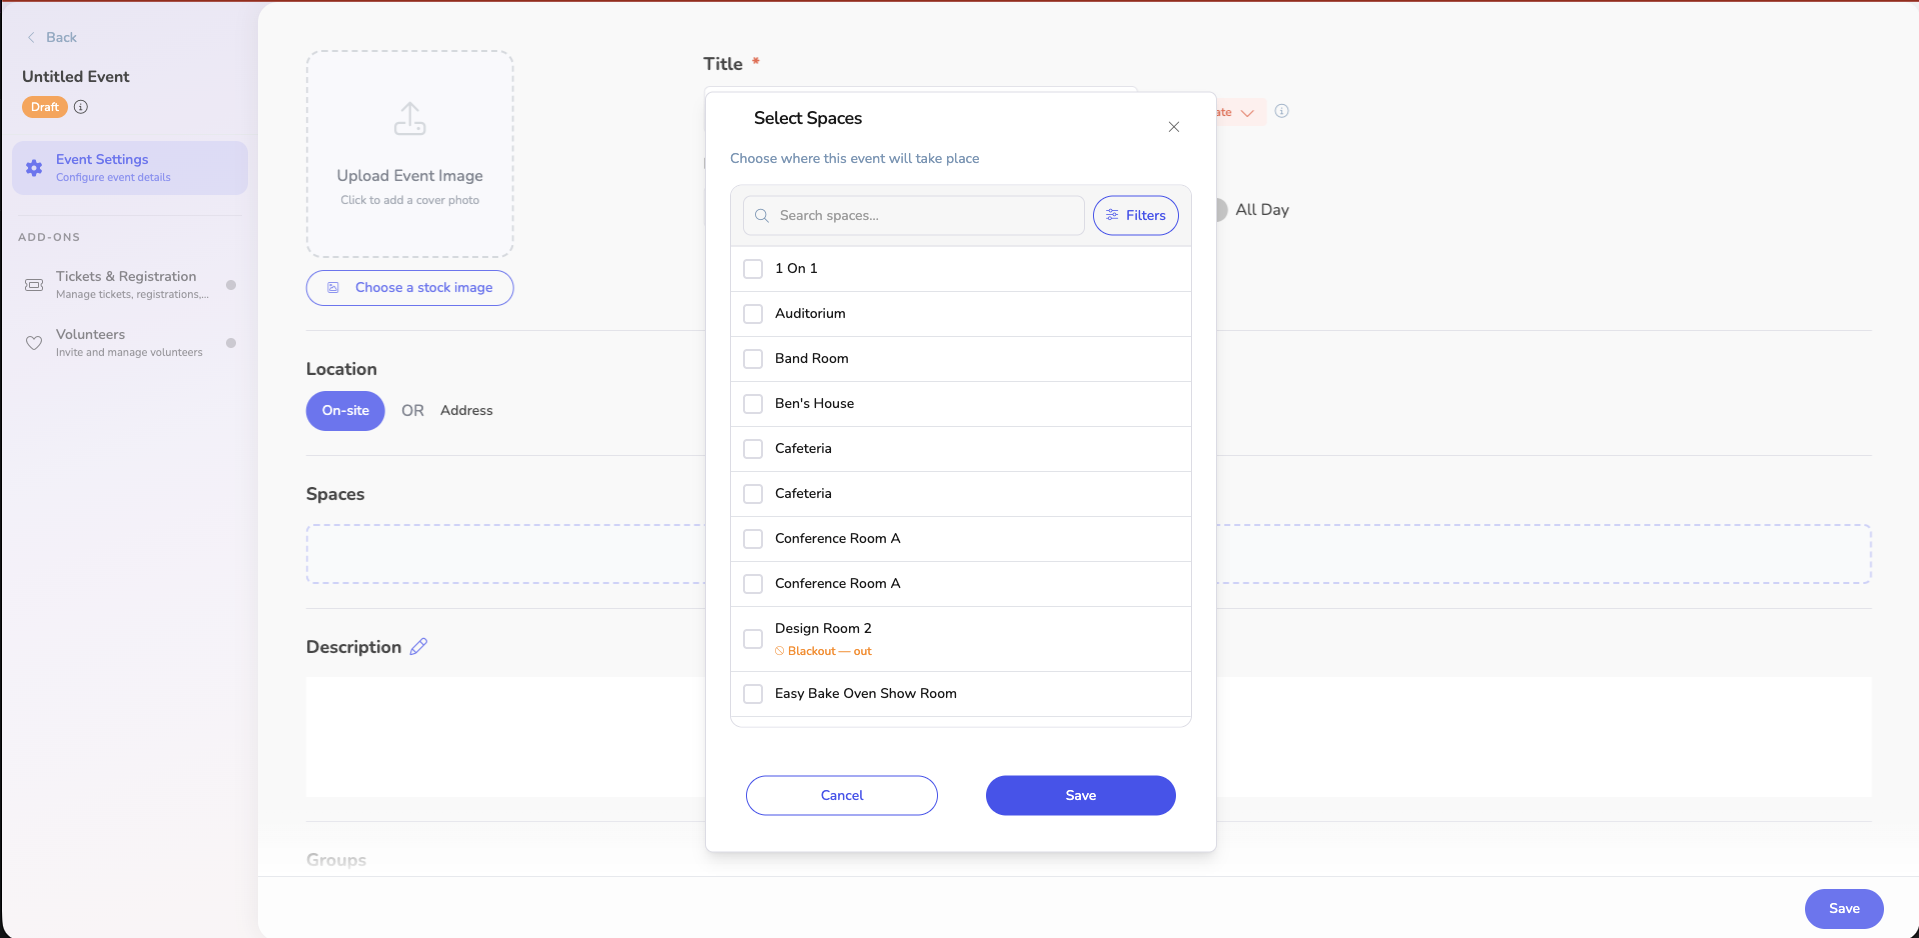
3. Add Spaces
Assign a venue space to your event so attendees know where to go.
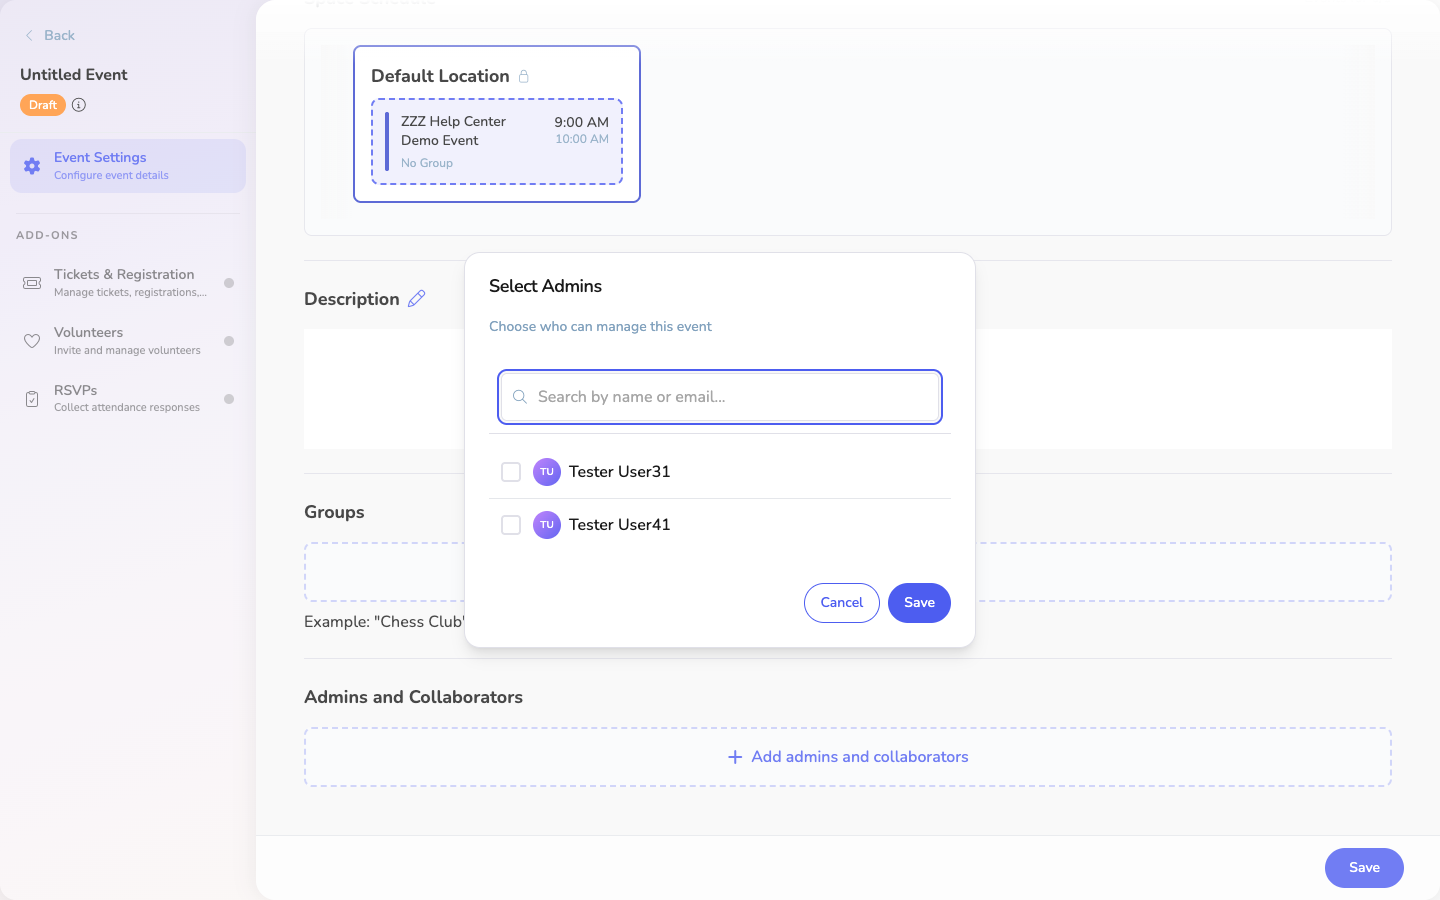
4. Add Admins and Collaborators
Add team members who can help manage the event.
5. Add Ticket Types
Click Tickets & Registration in the left sidebar to enable ticketing, then configure:
- Set ticket names (e.g., “General Admission”, “VIP”)
- Configure pricing for each type
- Set capacity limits per ticket type
- Add custom forms if you need to collect attendee information
See Ticket Types & Pricing for advanced options.
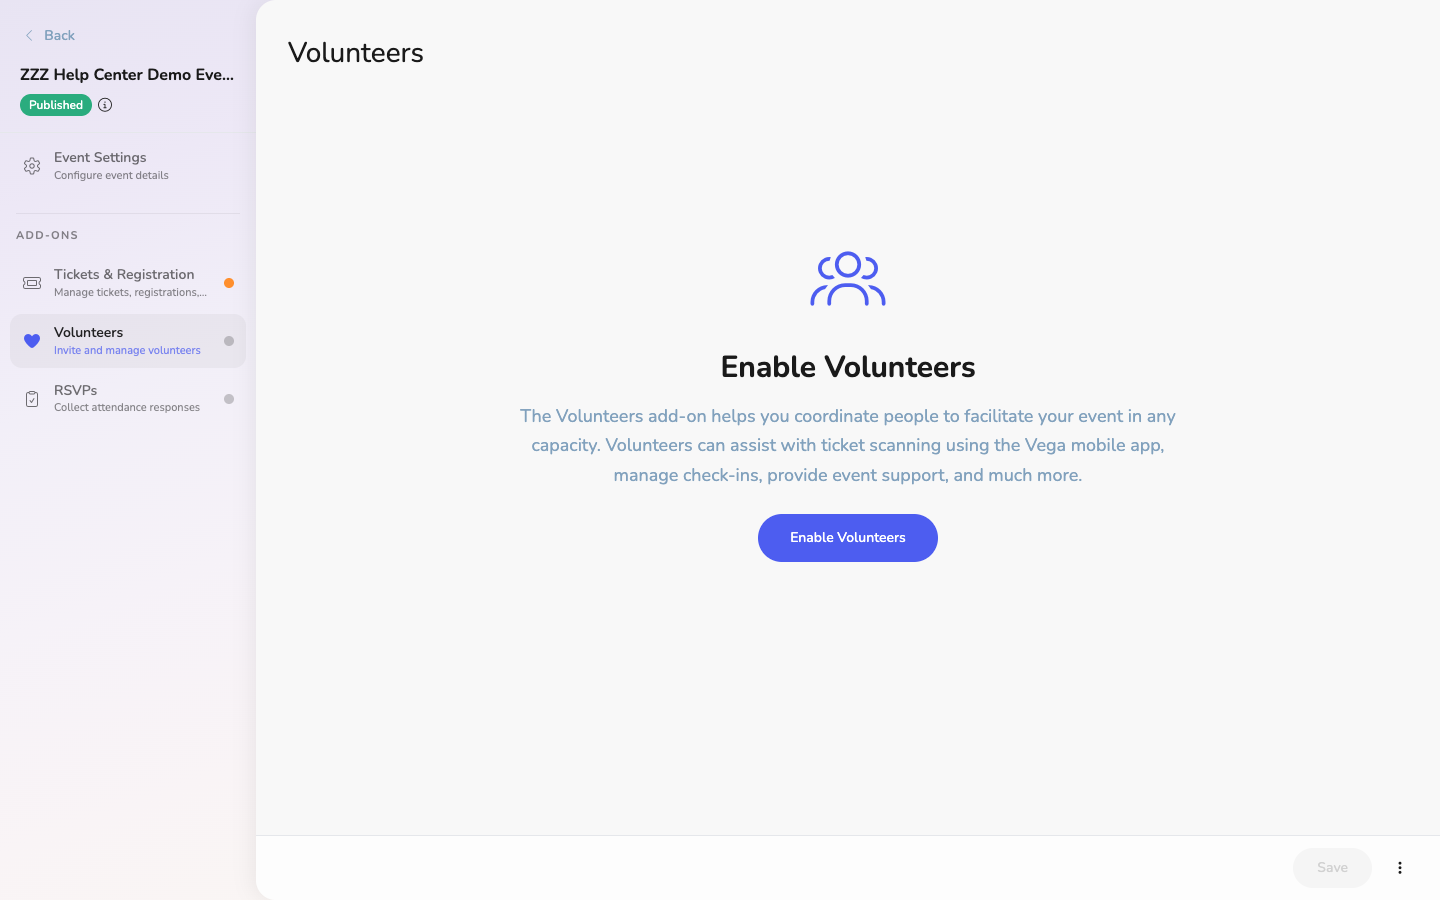
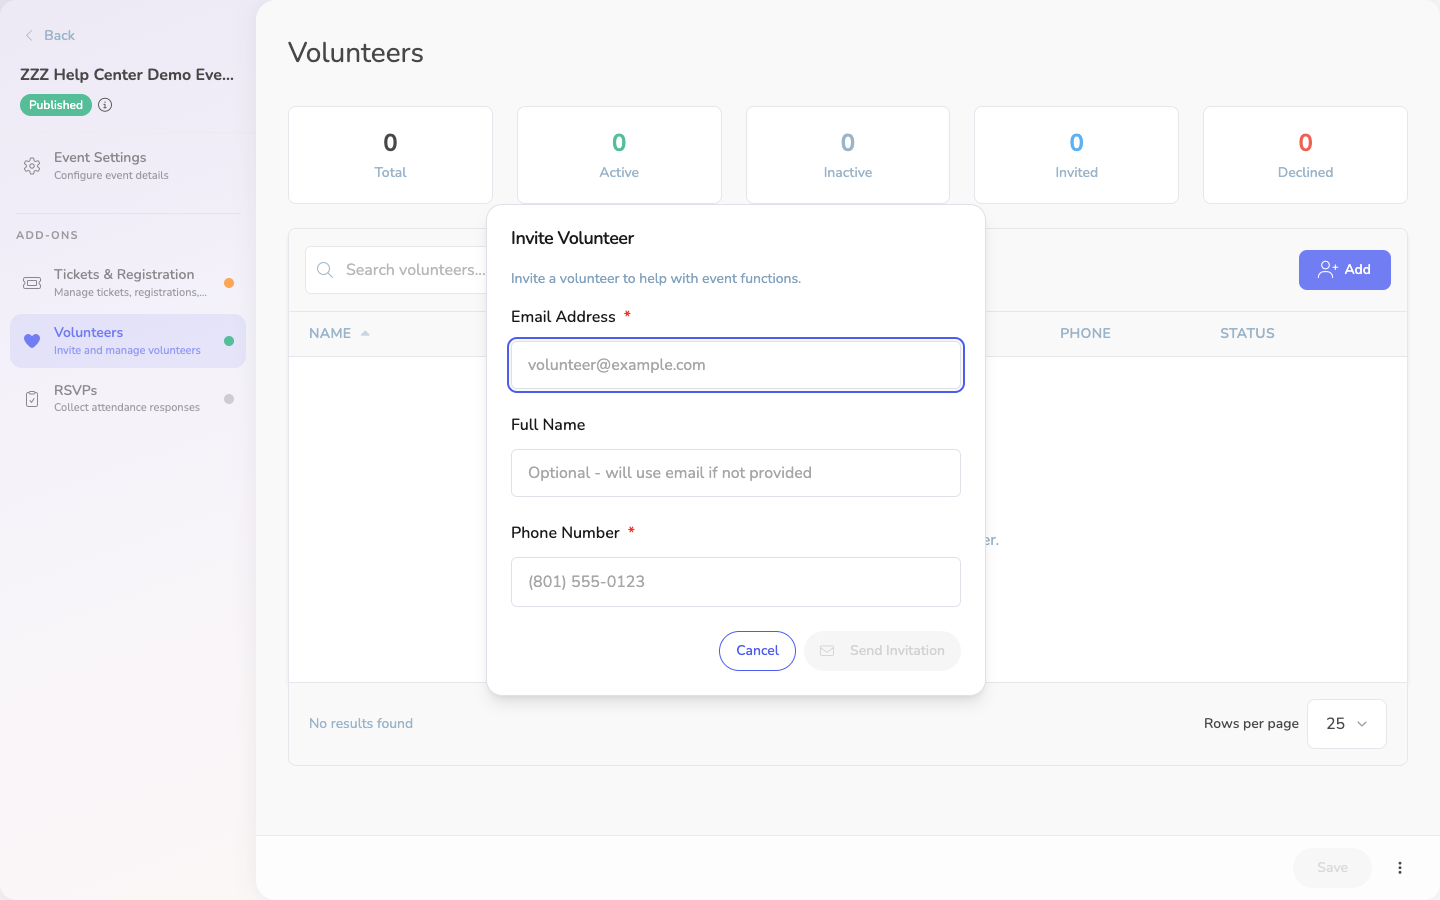
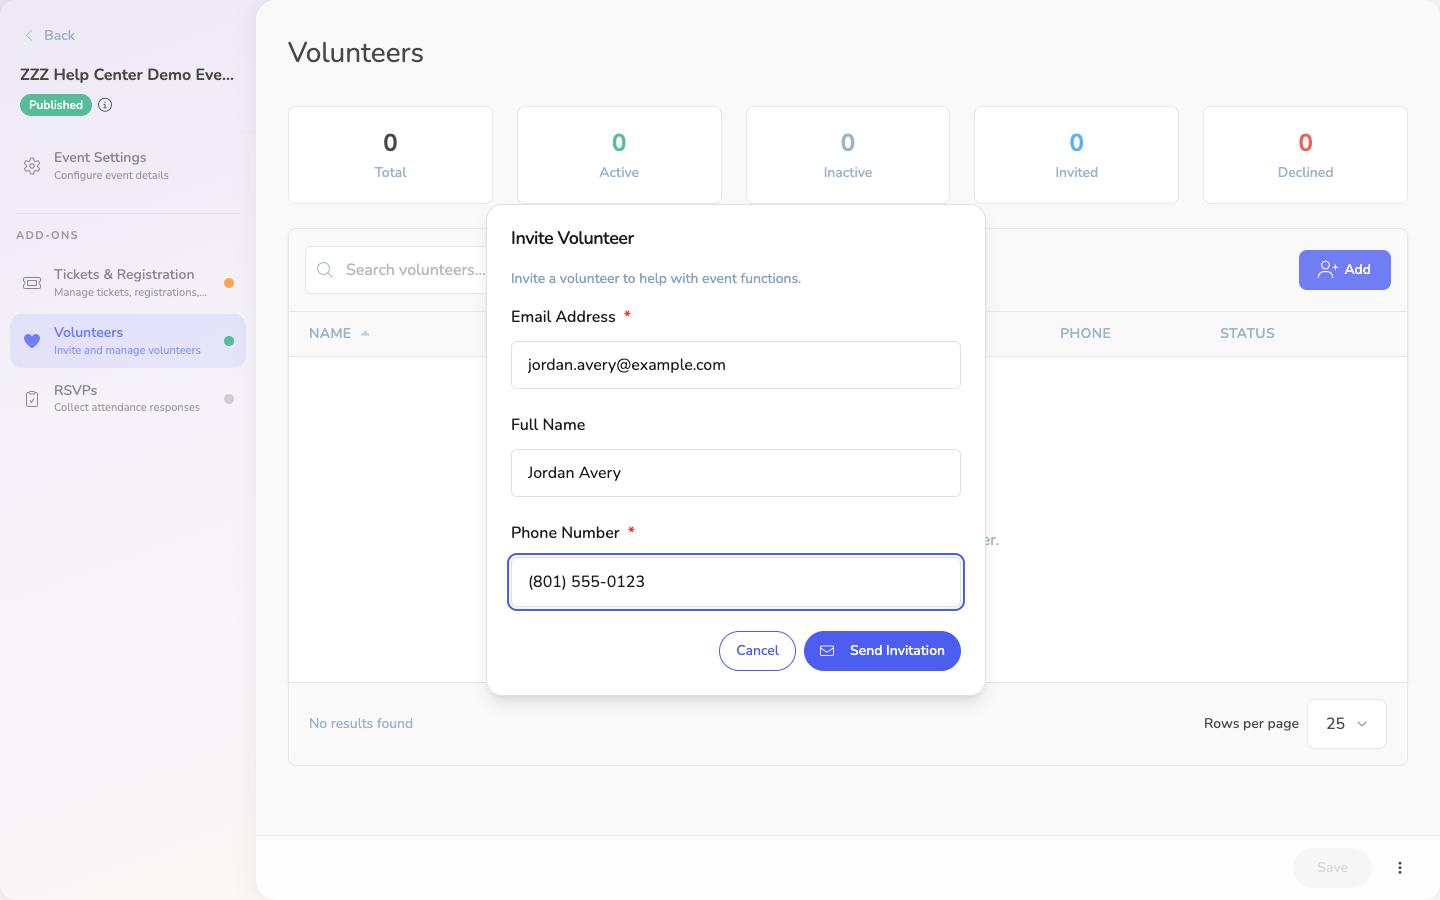
6. Add Volunteers (Optional)
Enable the Volunteers add-on from the left sidebar to invite and manage event volunteers.
7. Configure Additional Settings
- Access Codes — Restrict certain ticket types to users with a code
- Custom Forms — Collect additional information from attendees during checkout
- Event Image — Upload a hero image that appears on the event page
8. Publish
When everything looks good, click Publish. Your event is now live and ready for ticket sales.
ℹ️ Info
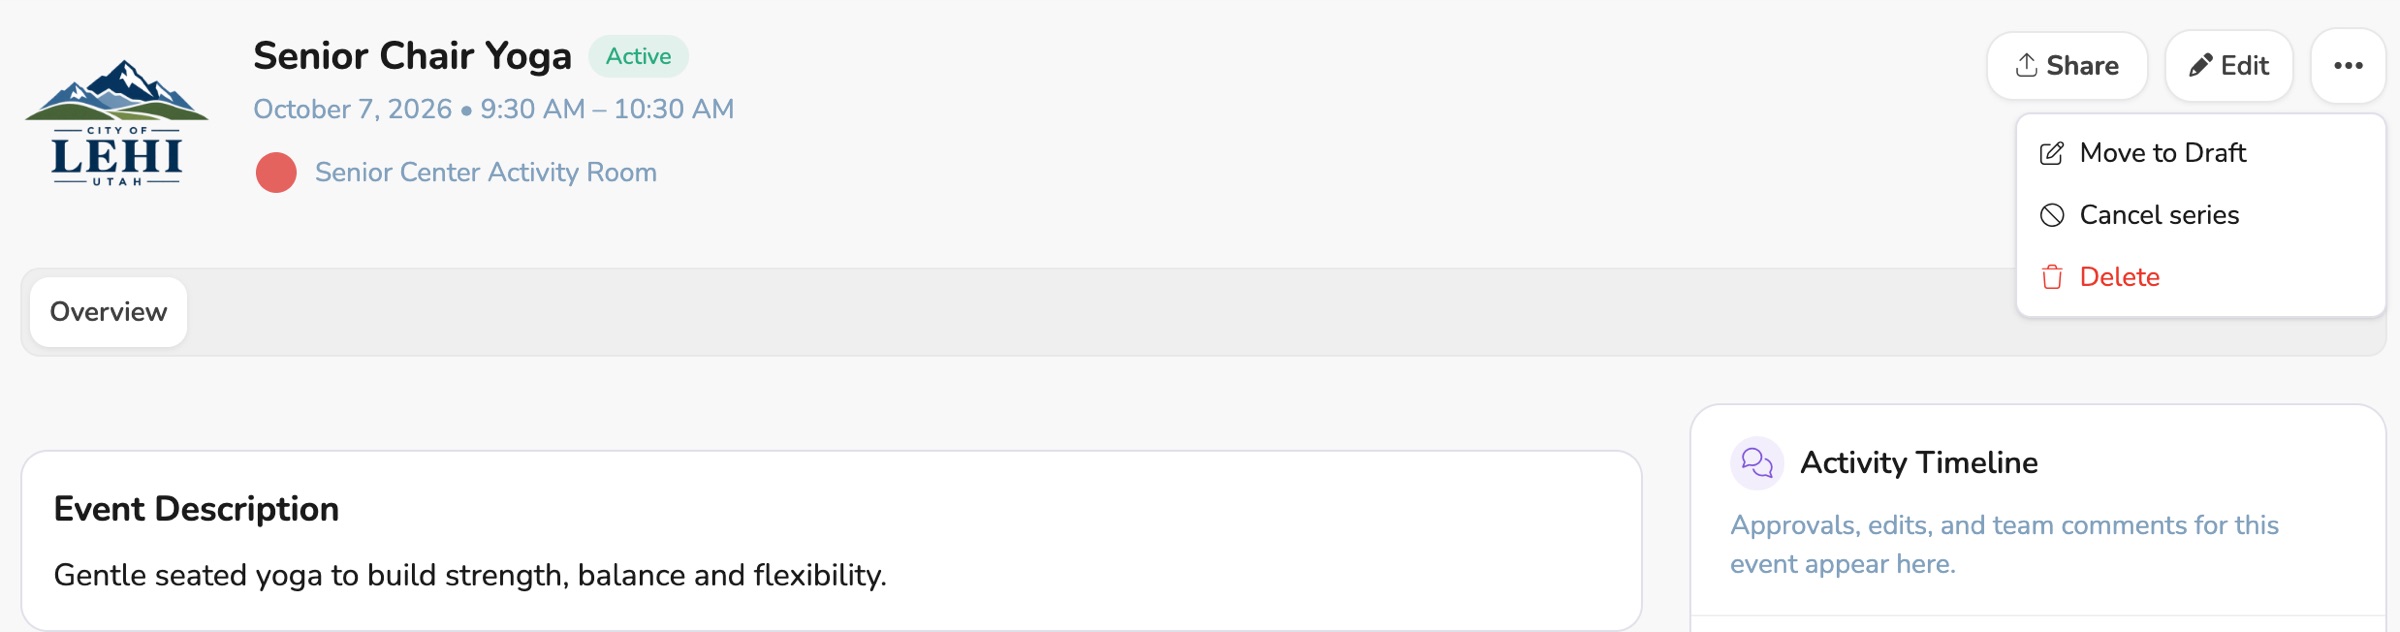
Canceling an Event
If you need to cancel an event after it’s been created, open the event and use the cancel option from the event menu.
Event Series
Need to create a recurring event? See Event Series to learn how to set up weekly, monthly, or custom recurring schedules.
Related
- Event Calendar — View and manage events in calendar view
- Ticket Types & Pricing — Advanced ticketing configuration
- Access Codes — Restrict ticket access with codes